
Waterfalls are awe-inspiring natural wonders that make excellent picture subjects. Therefore for most photographers shooting a waterfall is a major photographic goal. However, waterfalls are challenging to photograph because of the movement and color that make them stunning. Most people genuinely appreciate Waterfall photography due to various reasons. For instance, The spray of falling water creates a lively, dreamlike sensation for most individuals. For others, it’s the rainbow of colors that light reflects off the water, ranging from pastel to vibrant. Waterfalls are awe-inspiring in both circumstances, and they make you appreciate the grandeur of nature. The finest waterfall images also show the surrounding scenery and let its beauty shine through.
Listed below are some of the tips for the best waterfall photography
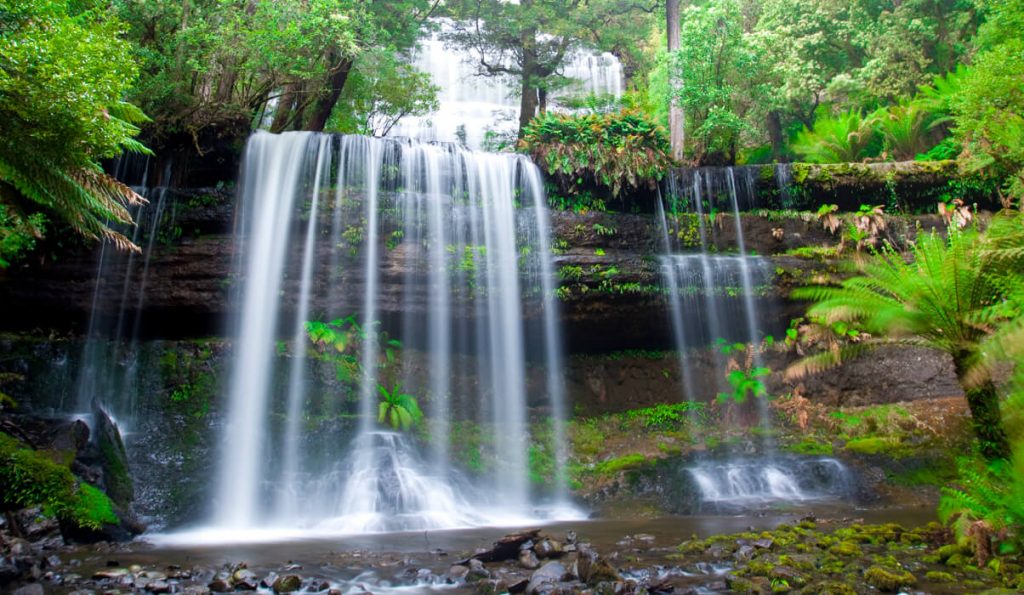
- Ensure your camera is set to slow shutter speed
Use a slow shutter speed on your digital camera to get that dreamy, haze-like look. This softens the running water while keeping the backdrop elements (trees and rocks) distinct.
Personal choice will determine the “correct” waterfall shutter speed, although 1-2 seconds is an excellent starting point. You may choose a slower shutter speed, but if it’s too slow, leaves and other stuff swaying in the breeze will also become fuzzy. It’s a delicate balance, and the only way to get it right is to try.
- Ensure you use a tripod
Because you’ll be shooting with a slow shutter speed, you’ll need to use a tripod. A tripod eliminates camera shake for better, crisper photographs while also freeing up your hands to explore the waterfall from all angles and views. If you don’t use a tripod, your entire image may get fuzzy, not just the water. Additionally, your tripod should be solid and trustworthy to avoid spilling over into the water. Choose a tripod with a movable head that can find its footing in various terrains. Landscape photography is considerably simpler to compose with this flexibility.
- Take time with the composition
Landscape photography is all about showing the nuances that others may overlook, and the landscapes surrounding waterfalls are frequently full with these! Take your photo shoot seriously. When you get to the location, look around to see what angles you can locate. While waterfalls are stunning, many of them are similar in appearance. So, your job is to figure out what distinguishes this specific waterfall and arrange your photograph correctly. If you’re new to composition, use a tried-and-true method like the Rule of Thirds or Leading Lines. These strategies will result in attractive images to the eye and bring attention to the waterfall.
- Turn your ISO to the lowest setting
It’s easy to overexpose your photographs when photographing waterfalls during the day with a moderate shutter speed. Make sure your camera’s ISO is set to the lowest possible setting to avoid this. Then, between f/11 and f/16, change your lens to a tiny aperture.
- Wait for the best lighting
Lighting, especially when dealing with nature, can make or ruin a photograph. Wait to photograph during the “golden hours,” which are the first hour after sunrise and the last hour before sunset, if possible. The light is soft and glowing at these times, and the sun’s low position provides a more natural-looking landscape photograph. On the other hand, you may find it difficult to remove harsh shadows from your images if you shoot during the day. Furthermore, the brilliant light may obscure the brilliance of the running water.
Three J’s Photography Service often work in a studio setting to ensure a comfortable and safe environment for both baby and parents.